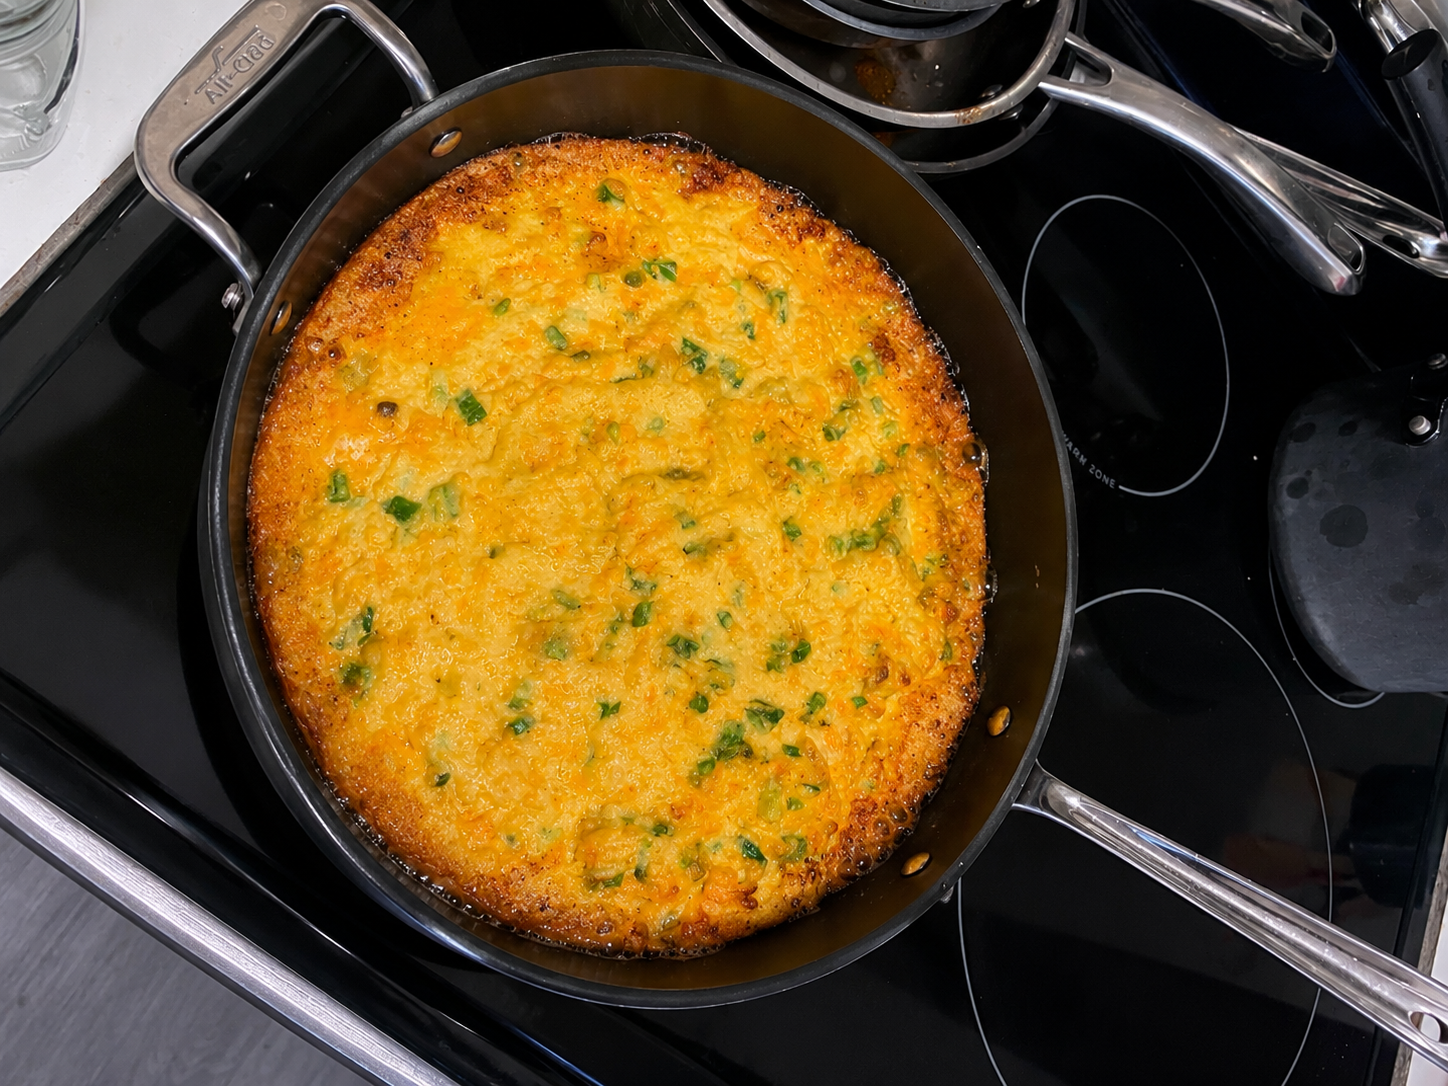
Spanakopita can easily become an all-day project. I prefer to make mine over three days.
That may sound like a commitment, but most of the time is hands-off. The spinach drains, the filling cools and the phyllo waits for its turn. Dividing the work into stages makes the whole process feel manageable, and it solves the biggest problem in spanakopita before it ever reaches the oven: too much water.
I made a pan recently, and the moment I lifted out the first piece, golden on top, crisp around the edges and filled with that salty, herby spinach and cheese mixture, I knew it was a win. Having a BOSCH oven to cook it in didn’t hurt either! The guests at our brunch event loved it, and so did I – it was a good batch. I made two so I will have one to enjoy or share next month.
It is impressive enough for company, but it is also generous, practical home cooking. Once you are going to this much trouble, you might as well make two.
What you will need
- About 20 ounces frozen chopped spinach, thawed, or 2 pounds fresh spinach
- 2 tablespoons olive oil
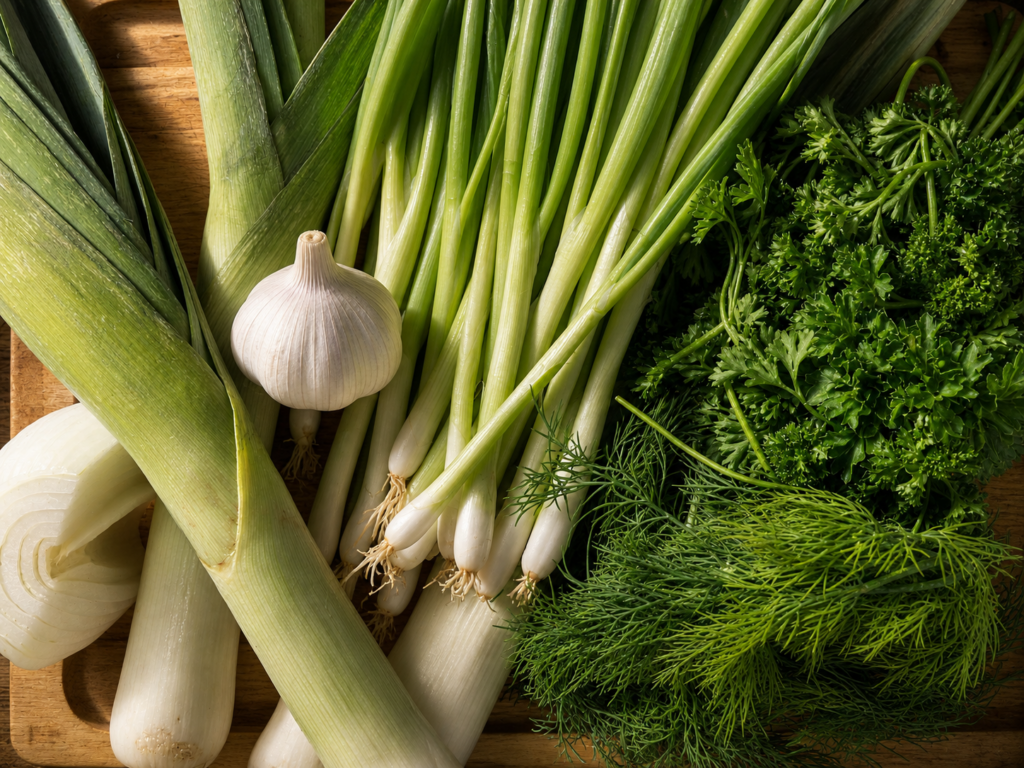
- 1 bunch scallions, thinly sliced
- 2 cloves garlic, minced
- 2 leaks, thinly sliced
- 1 cup chopped fresh dill
- 1/2 cup chopped flat-leaf parsley
- 8 ounces feta, crumbled
- 1 cup ricotta, more to taste for a more silky creamy mixture
- 9 ounces grated Parmesan, or anywhere from 7 to 10 ounces according to taste
- 2 large eggs, lightly beaten
- Pinch of nutmeg
- Freshly ground black pepper
- 1 package phyllo dough, thawed according to the package directions
- About 1/2 cup melted butter, olive oil or a combination of both
A note about salt: Feta and Parmesan bring plenty of their own. Taste the filling before adding any additional salt.
Day one: The spinach and vegetable prep
I highly recommend frozen chopped spinach. It is perfectly fine, perfectly delicious and much easier than working through pounds of fresh leaves. What matters is not whether the spinach began fresh or frozen. What matters is how dry it is when you start building the filling.
Spinach is full of water, and water is the enemy here. Too much of it will steam the phyllo from the inside and leave you with a soft bottom instead of crisp, distinct layers. This is the day to be patient.
Set the frozen spinach out and let it thaw completely. Place it in a large colander or sieve over a bowl and leave it there for several hours. Let gravity begin the work. A few times during the day, stop by with a wooden spoon or spatula and press the spinach firmly to encourage more liquid to drain.
When the spinach is fully thawed, set two bowls beside the sink. Place a handful of spinach in a piece of cheesecloth and squeeze out every ounce of water you can. What remains will look like a little spinach snowball. Drop that into the second bowl and continue, handful by handful, until all the spinach has been squeezed.
You have removed most of the water, but I take it one step further. Break those spinach balls apart and spread the leaves across a large baking sheet or casserole dish. Put the spinach in a 400°F oven for 10 to 12 minutes. Keep an eye on it. You want moisture to escape, but you do not want the leaves to become flaky or brittle.
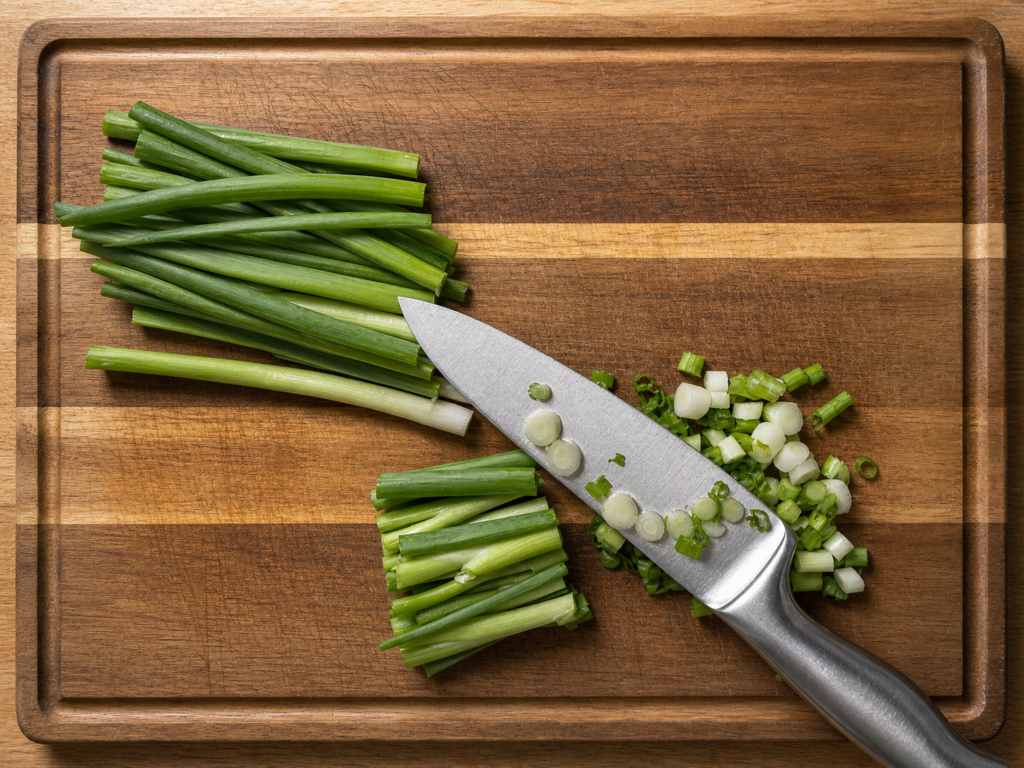
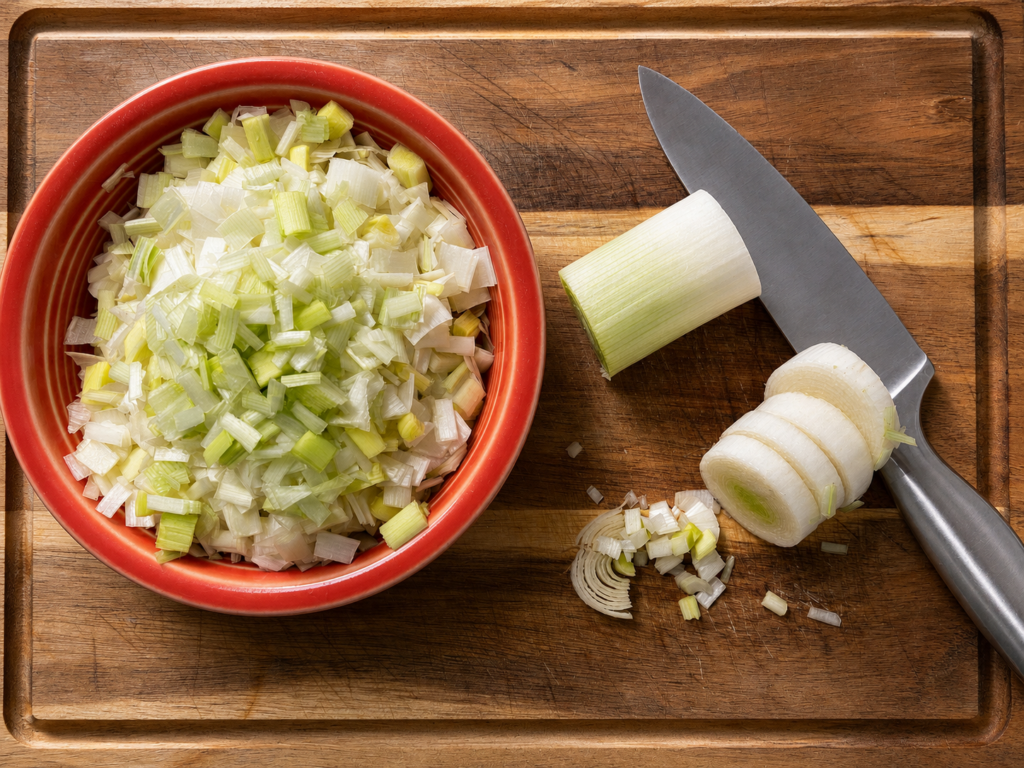
While doing this, prep your aromatic veggies for tomorrow. Chop your green onions, leaks, dill and parsley; then prep your garlic. Cover and store that in the fridge for tomorrow.
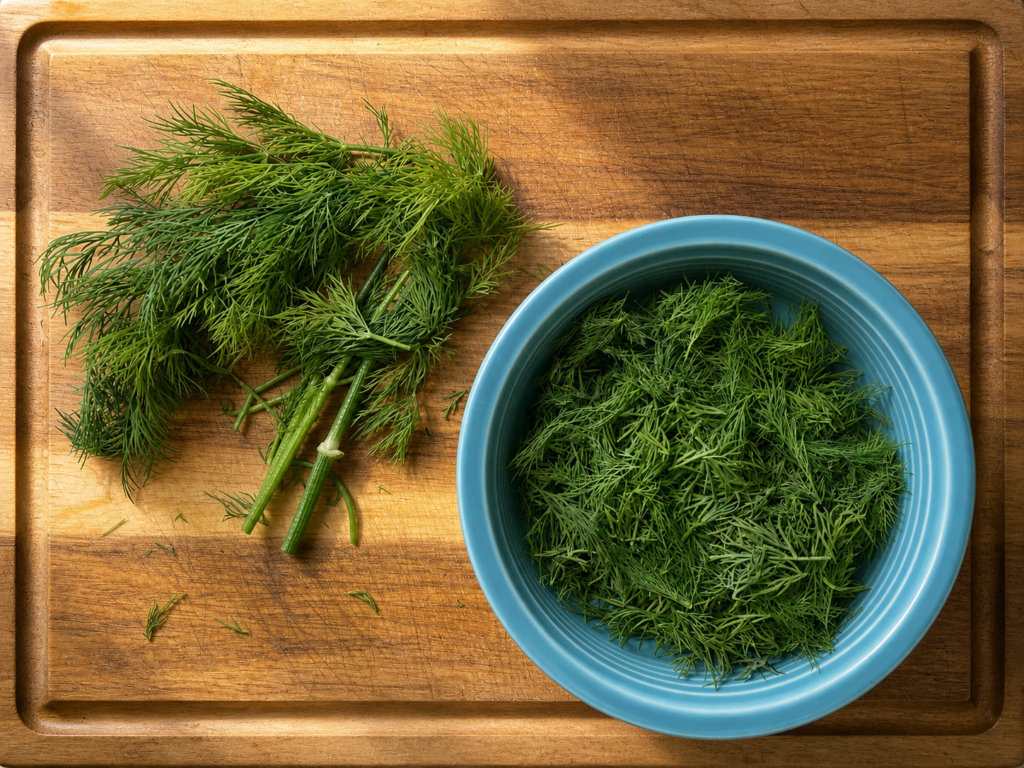
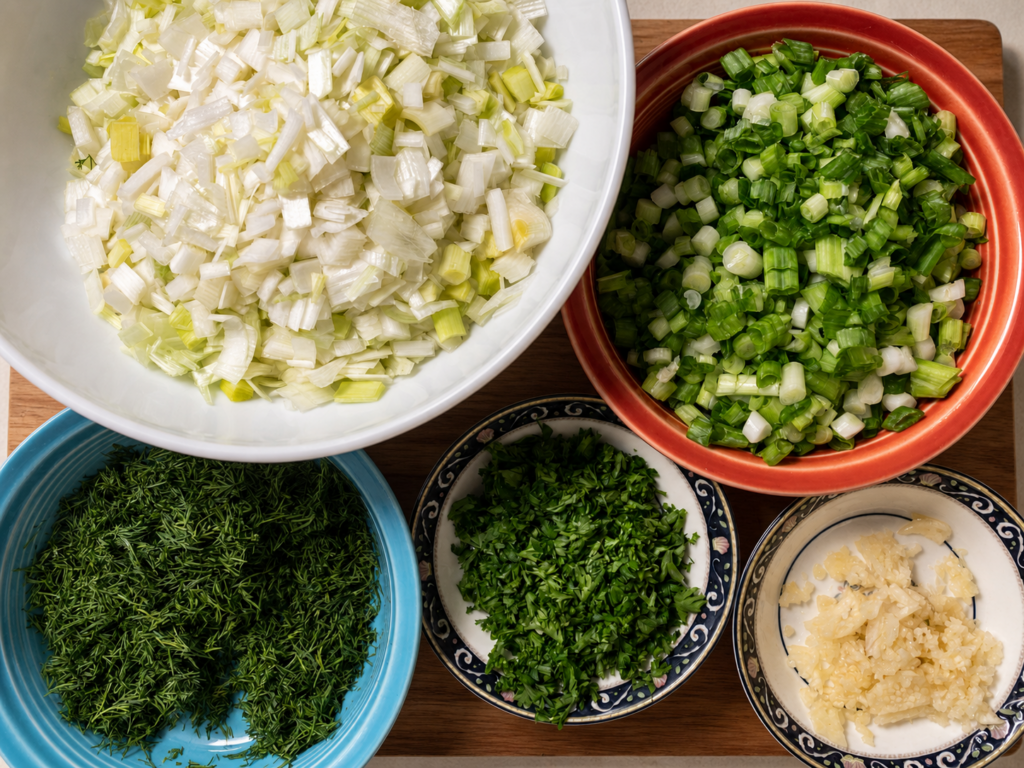
Pull the spinach from the oven and let it sit for another 10 to 15 minutes. The steam rising from the leaves is water evaporating, which is exactly what you want. Break up any remaining clumps as the spinach cools, then transfer it to a bowl. At this point, you have mostly dry, deeply flavored spinach rather than a wet mass waiting to ruin your pastry.
Cover the bowl and refrigerate everything overnight. Day one is done.
Day two: The aromatics
Day two is where the kitchen begins to smell wonderful. From the fridge, pull your scallions, garlic, dill and parsley. Warm the olive oil in a large skillet (your biggest one) and cook the scallions until they are soft and fragrant. Add the garlic for the final 30 seconds, just long enough to release its aroma without letting it brown.
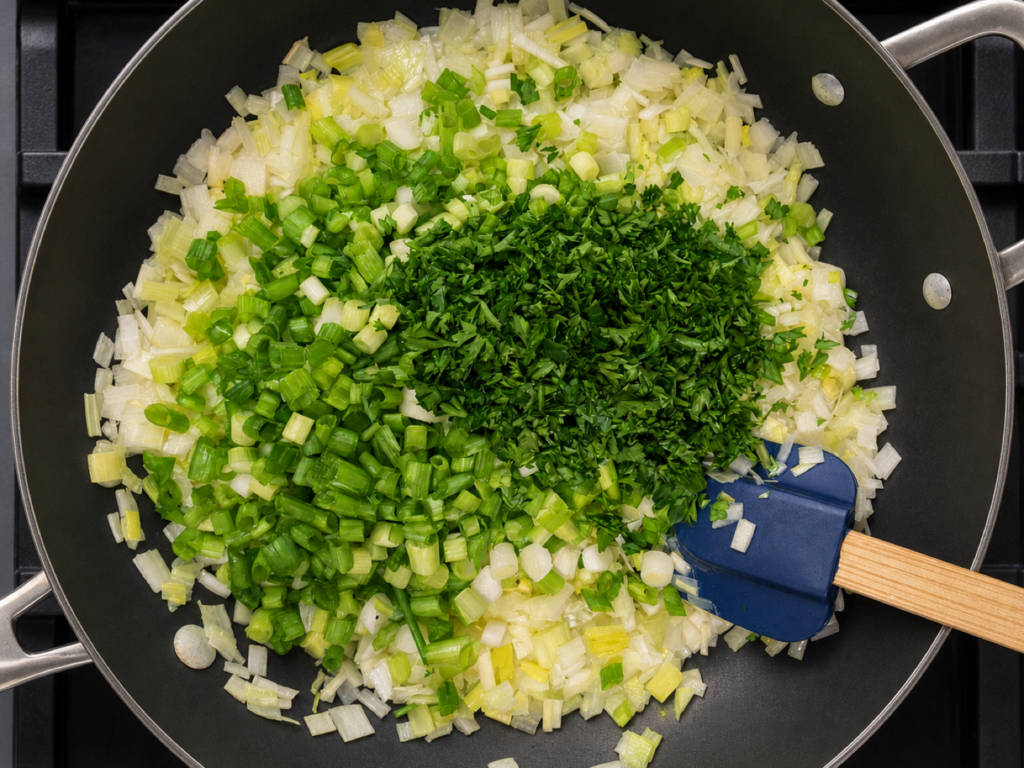
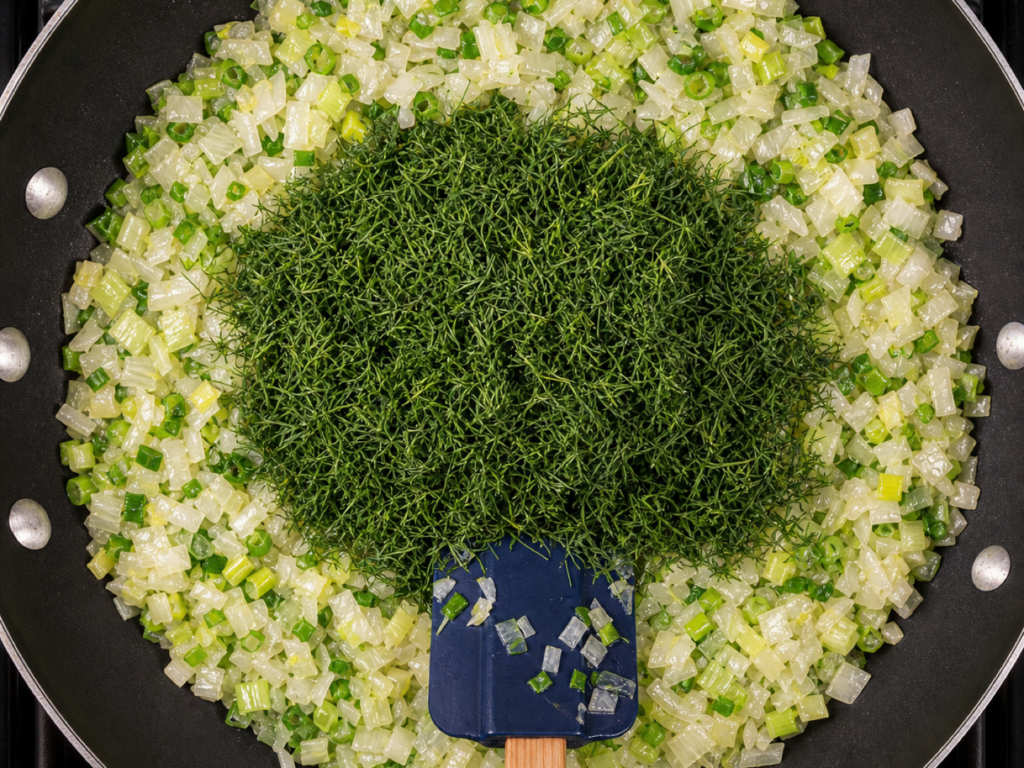
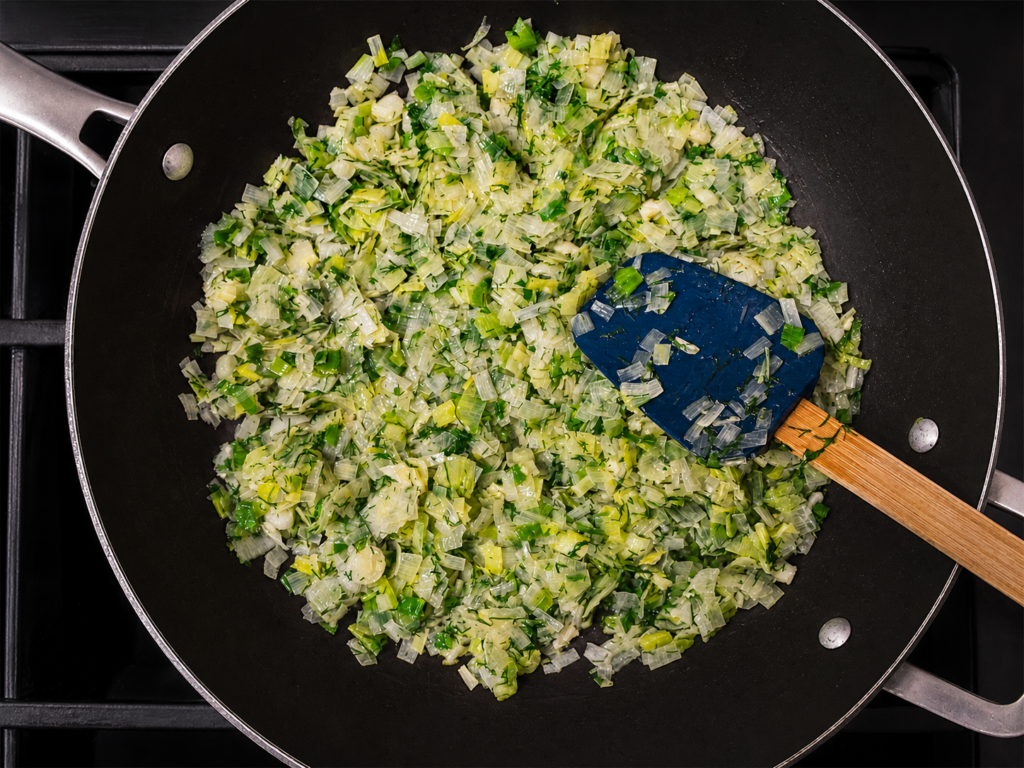
Add the prepared spinach and stir until everything is evenly combined. Mix in the dill, parsley, nutmeg and black pepper, then remove the skillet from the heat.
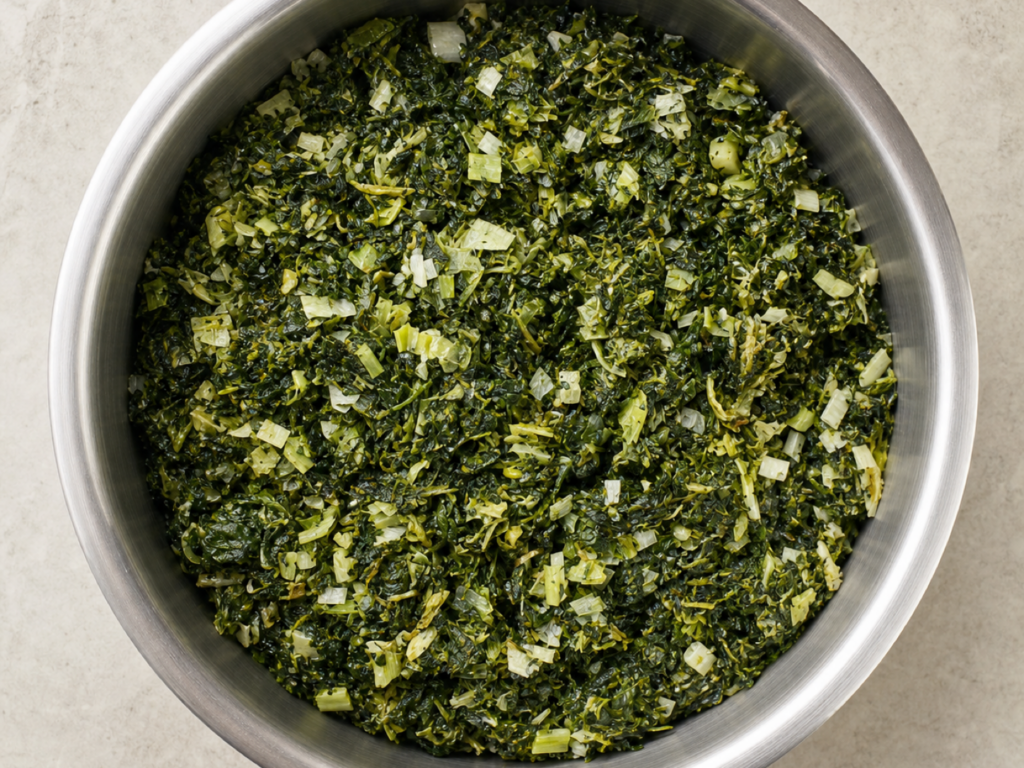
The feta, ricotta, Parmesan and eggs will eventually join this mixture, but not while it is hot. Warm spinach can make the cheese melt before you want it to, and hot vegetables meeting raw eggs can leave you with little bits of unwanted scrambled egg. You could refrigerate the mixture for an hour, and continue later that day. I simply call this day two.
Transfer the spinach and aromatics to a bowl, cover it and return it to the refrigerator overnight.
Day three: Bring the filling together
On the third day, pull out that beautiful, cold spinach and aromatic mixture. Add the feta, ricotta and 9 ounces of grated Parmesan. Seven ounces will give you a lighter Parmesan flavor. Ten will make it a little richer. Nine is my happy place.
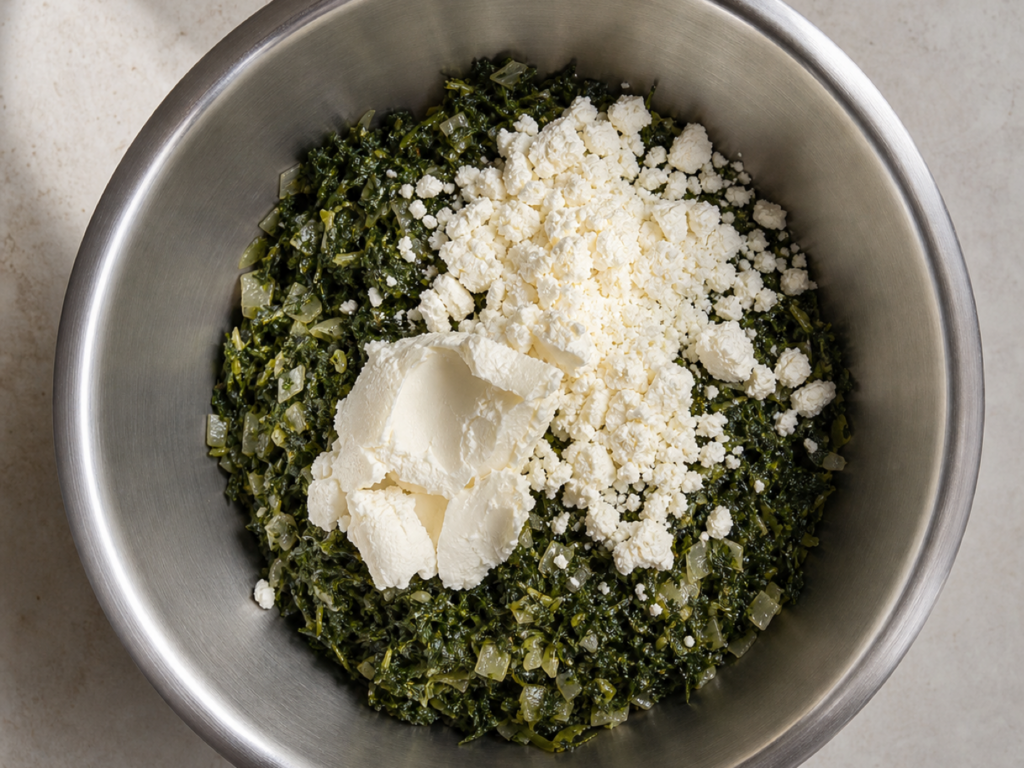
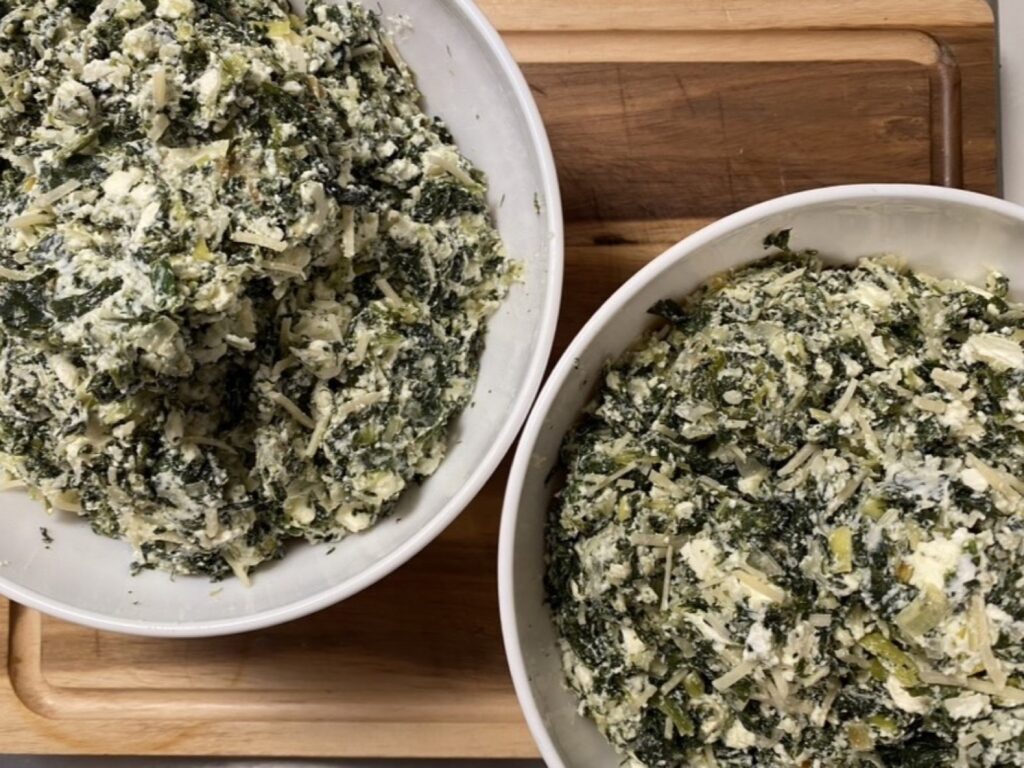
Mix until the cheeses are incorporated throughout the spinach, then stir in the lightly beaten eggs. Now you have the filling that will sit between all those crisp layers of phyllo.
Build the spanakopita
Thaw the phyllo according to the package directions. Once it is open, keep the stack covered with a kitchen or paper towel. Phyllo dries quickly, and dry sheets become brittle before you can get them into the pan.
Butter the bottom and sides of a 9-by-11-inch baking dish. Lay in one sheet of phyllo and brush it lightly with melted butter. Add another sheet and brush again. Keep going until you have seven to ten buttered layers across the bottom.
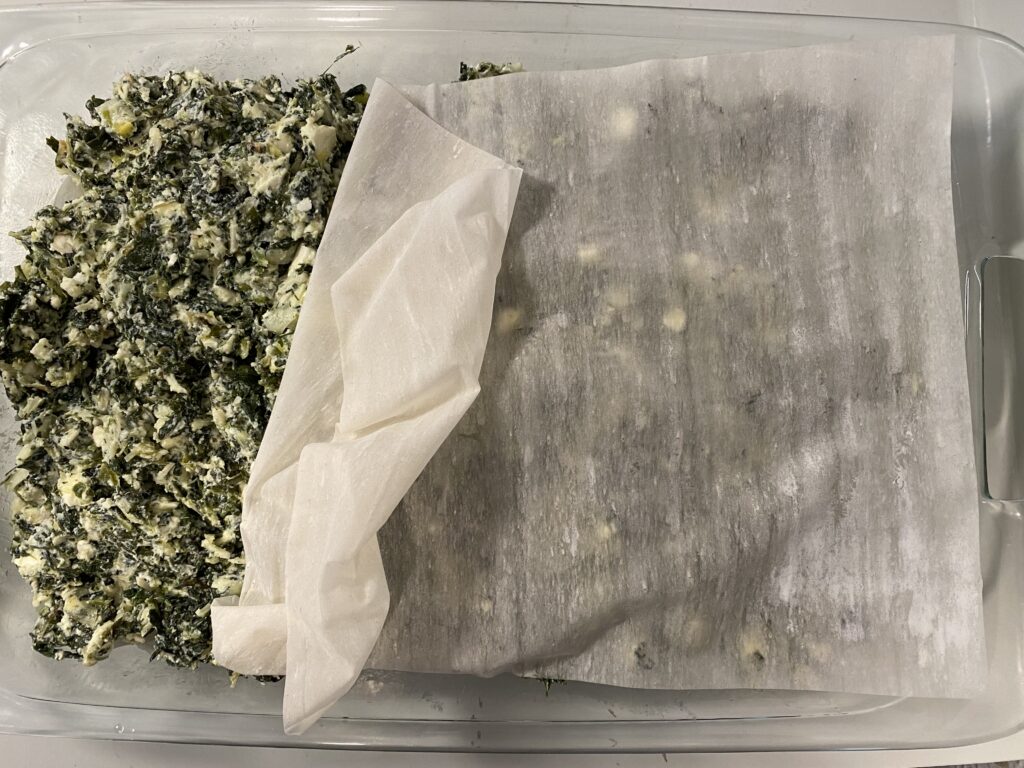
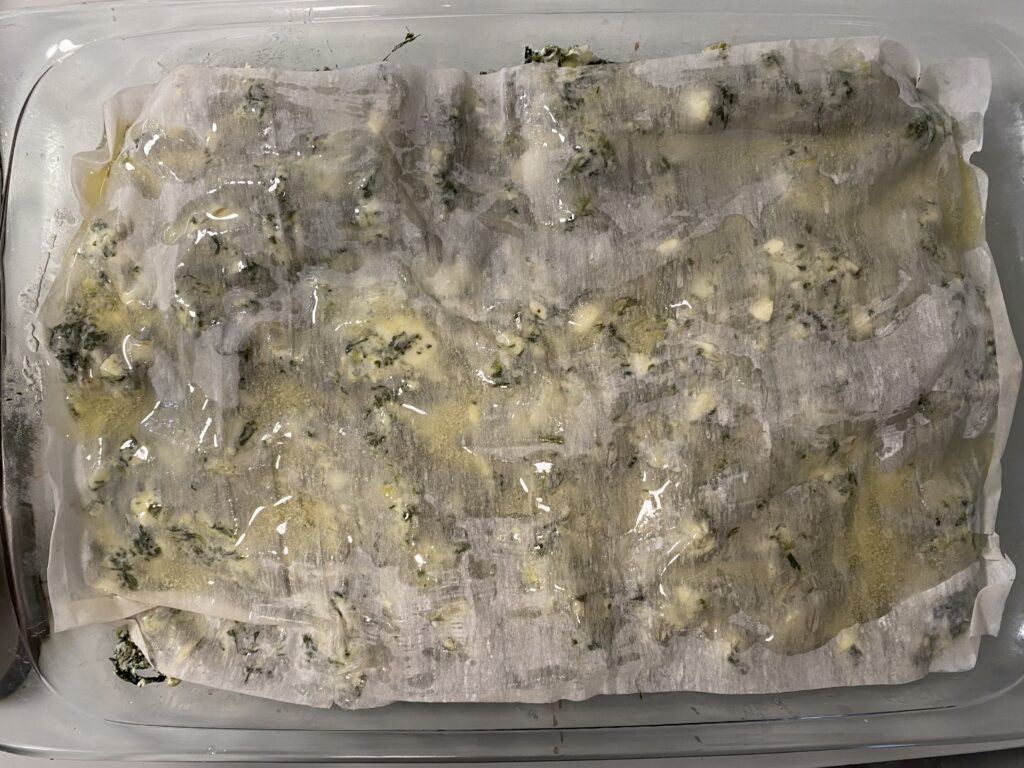
Spread the spinach, cheese and egg filling evenly over the phyllo. Then repeat the process on top with another seven to ten sheets, brushing butter between every layer. Tuck the edges in as neatly as you can, but do not worry about making it look too perfect. A little rustic character is part of the pleasure.
Chill it before you cut it
Put the fully assembled dish in the refrigerator for 30 to 45 minutes. This gives the butter time to chill and become firm again, which helps the pastry hold its structure.
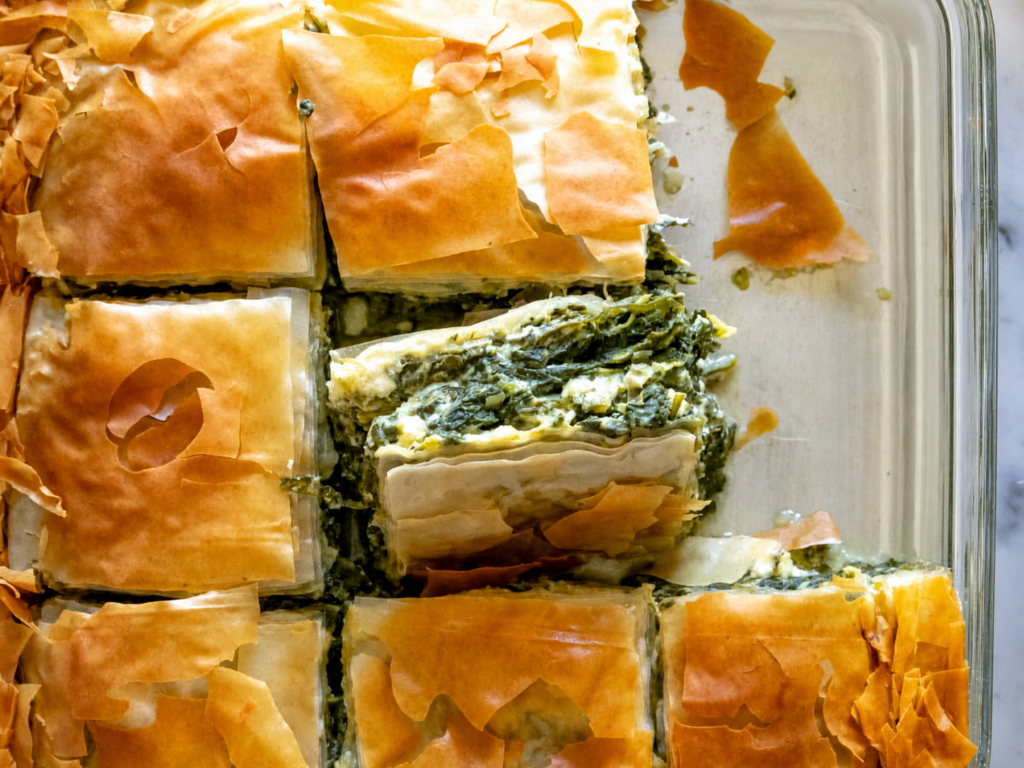
When it comes out of the refrigerator, cut completely through the phyllo and filling into your serving portions. Squares or diamonds both work. Do not save this step for later. Baked phyllo is crisp, delicate and nearly impossible to cut neatly. Portion the entire dish before it goes into the oven.
Bake, rest and enjoy
Bake at 375°F for 45 to 55 minutes, until the pastry is deeply golden and crisp. Around the 30-to-35-minute mark, your kitchen should smell incredible.
Let the spanakopita rest for 10 to 15 minutes after it comes out of the oven. The filling will settle, the pieces will lift more cleanly and the phyllo will still be crisp when you serve it.
If you are going to make one, make two!
After three days of preparation and all that careful phyllo layering, I always make two pans. We bake one and put the other in the freezer uncooked. Assemble, chill and cut the second pan exactly as you would the first, then wrap it tightly and freeze it. It can go into the oven from frozen, although it will need additional baking time. If the top begins to brown before the center is hot, cover it loosely with foil.
Cooked leftovers can also be frozen. Wrap individual portions well so they are easy to pull out later. Reheat them uncovered in a 350°F oven until they are crisp and hot all the way through. The microwave will warm them, but it will also soften the phyllo. For food safety, reheated leftovers should reach 165°F in the center.
Why I take three days
Day one removes the water that would otherwise make the pastry soggy. Day two gives the aromatics time to bloom and the warm mixture time to cool completely. Day three keeps the cheese and eggs fresh, lets the buttered phyllo chill before baking and turns all that patient preparation into a generous pan of crisp, deeply flavorful spanakopita you, your family and friends will love.
It takes time, but it never feels difficult when I do it this way. And when there is a second pan waiting in the freezer, it feels like time very well spent.